
905429
TissueFab® bioink
(Gel)ma -UV/365 nm
Sinonimo/i:
Bioink, GelMA, Gelatin methacrylamide, Gelatin methacrylate, Gelatin methacryloyl
About This Item
Prodotti consigliati


Descrizione
0.2 μm sterile filtered, suitable for 3D bioprinting applications
Stato
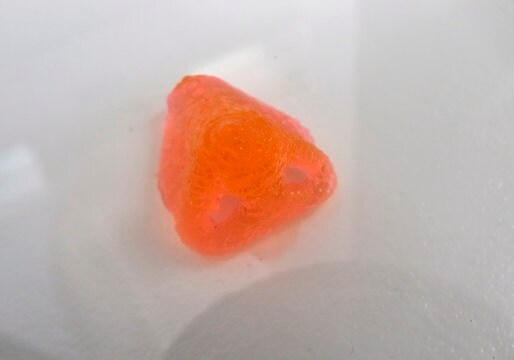
viscous liquid
Impurezze
≤5 CFU/g Bioburden (Fungal)
≤5 CFU/g Bioburden (Total Aerobic)
Colore
colorless to pale yellow
pH
6.5-7.5
applicazioni
3D bioprinting
Temperatura di conservazione
2-8°C
Cerchi prodotti simili? Visita Guida al confronto tra prodotti
Descrizione generale
Applicazioni
Confezionamento
Altre note
- Optimize printing conditions (e.g., nozzle diameter, printing speed, printing pressure, temperature, cell density) for the features of your 3D printer and your application.
- Reduce bubble formation. Air bubbles in bioink may hamper bioprinting. Carefully handle the bioink when you mix and transfer it to avoid bubble formation. Do not vortex or shake vigorously.
- UV light Crosslinking. Position the light source directly above the printed structure. Lower intensity light sources will require shorter distances and longer exposure times to complete crosslinking. Recommended conditions: Place an 800 mW/cm2 light source 8 cm above the printed structure and expose for 30 s.
Procedure
1. Prepare bioink solution: Warm TissueFab® - GelMA-UV bioink in a water bath or incubator set to 37 °C for 30 minutes or until the bioink becomes fluid. Gently invert the bioink to make a homogeneous solution. DO NOT vortex or shake vigorously.
2. Prepare bioink-cell solution: Resuspend the cell pellet at the desired cell density with the bioink solution by gently pipetting up and down. Typical cell density for extrusion-based bioprinting is 1 to 5 x 10⁶ cells/mL. Load the bioink-cell solution into the desired printer cartridge.
3. Bioprint: Cool the filled printing cartridge to 15–19 °C to induce gelation, using a temperature controlled printhead or place the cartridge in at 4 °C for 10–15 minutes. If print bed temperature control is available, set temperature to 15 °C. Follow the 3D printer manufacturer′s instructions. Load the print cartridge onto the 3D printer and print directly onto a Petri dish or into multi-well plates. Adjust the flow according to nozzle diameter, printing speed, printing pressure, and temperature.
4. Crosslink: Place the UV light source directly above the 3D-bioprinted structure and expose the structure to UV light (wavelength 365 nm). Use the appropriate distance settings and exposure times for your bioprinter.
5. Culture cells: Culture the bioprinted tissue with appropriate cell culture medium following standard tissue culture procedures.
Note legali
Codice della classe di stoccaggio
10 - Combustible liquids
Classe di pericolosità dell'acqua (WGK)
WGK 3
Scegli una delle versioni più recenti:
Certificati d'analisi (COA)
Non trovi la versione di tuo interesse?
Se hai bisogno di una versione specifica, puoi cercare il certificato tramite il numero di lotto.
Possiedi già questo prodotto?
I documenti relativi ai prodotti acquistati recentemente sono disponibili nell’Archivio dei documenti.
I clienti hanno visto anche

Articoli
Professor Shrike Zhang (Harvard Medical School, USA) discusses advances in 3D-bioprinted tissue models for in vitro drug testing, reviews bioink selections, and provides application examples of 3D bioprinting in tissue model biofabrication.
Professor Shrike Zhang (Harvard Medical School, USA) discusses advances in 3D-bioprinted tissue models for in vitro drug testing, reviews bioink selections, and provides application examples of 3D bioprinting in tissue model biofabrication.
Il team dei nostri ricercatori vanta grande esperienza in tutte le aree della ricerca quali Life Science, scienza dei materiali, sintesi chimica, cromatografia, discipline analitiche, ecc..
Contatta l'Assistenza Tecnica.