PFHYS1008
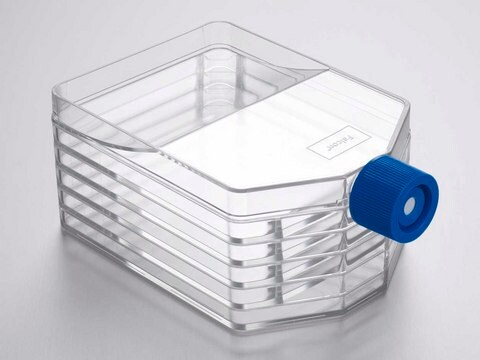
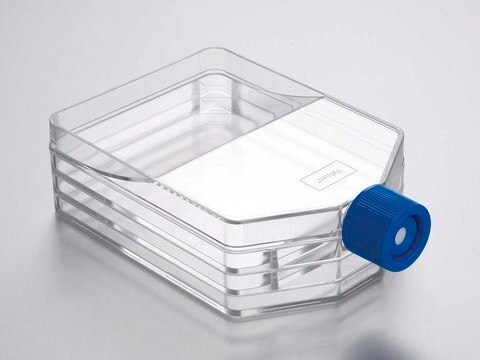
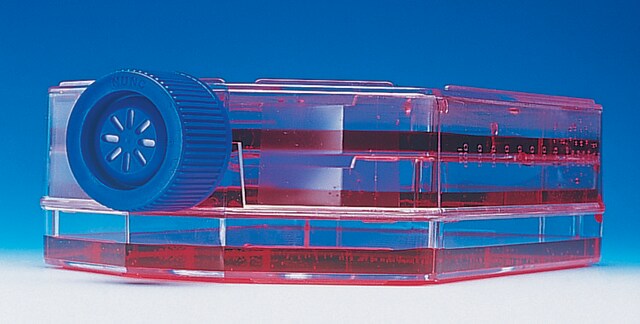
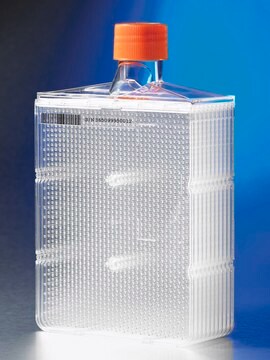
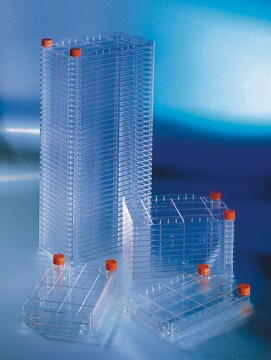
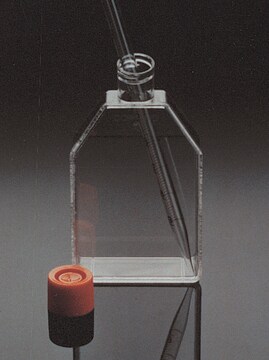
Millicell® HY Multilayer Culture Flask
T-1000, 5 layer, 200-300 mL, sterile, vented cap, Tissue Culture (TC)-treated surface
Synonym(s):
High Yield Culture Flask, Millicell HY Flask T-1000 Cell Culture Flask, cell culture, cell culture flask, multi-layer flask, tissue culture
About This Item
Recommended Products
material
high-density polyethylene cap
polystyrene flask
Quality Level
sterility
sterile; γ-irradiated
feature
5 layer
packaging
pack of 8
manufacturer/tradename
Millicell®
parameter
45 °C max. temp.
technique(s)
cell culture | mammalian: suitable
H
51 mm , excluding cap
74 mm , including cap
L
22.2 cm
W
12 cm
surface area
1000 cm2
working volume
200-300 mL
binding type
Tissue Culture (TC)-treated surface
shipped in
ambient
Preparation Note
- To seed cells, fill the Millicell HY T-1000 Flask with the desired growth media.
- Add desired number of cells to achieve typical seeding density.
- Mix the cells and media by raising the end of the flask and pipetting the solution up and down several times until a homogeneous suspension is achieved. Note: Failure to adequately mix cells into a homogeneous suspension may result in an uneven distribution of cells across the layers of the Millicell HY Flask.
- Briefly lay the flask on its side to equilibrate the liquid volume equally among the layers of the flask.
- Tilt the flask on its end to partition the liquid volume for each layer of the flask.
- Lay the flask down to spread the cell suspension evenly across the entire surface of each layer.
- Depending on the volume it may be necessary to rock the flask on all four corners to ensure that the entire surface wets. Note: If the liquid volume on any of the layers changes during the wetting procedure (e.g., spilling of liquid from top layer to lower layers), repeat steps 4–6 to ensure even distribution of liquid among all layers.
- Return the flask to a vertical position when transporting to the incubator. Lay the flask flat in the incubator (as in step 6) and culture cells under appropriate conditions.
- If media exchange is required, either aspirate or pour the media from the Millicell HY T-1000 Flask. Note: Due to the larger surface area of the Millicell Flasks, it may be necessary to let the flask stand on its side for several minutes following each aspiration so that all residual liquid pools to a common point, allowing for a second aspiration to completely remove the remaining liquid.
- Add appropriate volume of fresh media, and repeat steps 4–8.
- To harvest cells, remove media as in step 9.
- Add desired amount of appropriate wash solution (e.g., PBS or 0.02% EDTA) to the flask and repeat steps 4–7.
- Remove wash solution as in step 9.
- Add desired amount of dissociation enzyme (e.g., 0.25% trypsin/EDTA or equivalent) according to preferred protocol, repeat steps 4–8, and incubate. Volume of dissociation enzyme required per cm2 does not need to be altered from T-flask protocol. Note: Ensure that all cells have completely dissociated from the surface of the flask via observation under microscope. Failure to allow complete dissociation of cells from culture surface (such that all cells are freely floating) may result in reduced cell yields.
- If using trypsin, add desired volume of inactivating solution, such as serum-containing media.
- Collect cells either by aspirating or pouring, as in step 9.
Legal Information
recommended
related product
Storage Class Code
10-13 - German Storage Class 10 to 13
Certificates of Analysis (COA)
Search for Certificates of Analysis (COA) by entering the products Lot/Batch Number. Lot and Batch Numbers can be found on a product’s label following the words ‘Lot’ or ‘Batch’.
Already Own This Product?
Find documentation for the products that you have recently purchased in the Document Library.
Customers Also Viewed
Our team of scientists has experience in all areas of research including Life Science, Material Science, Chemical Synthesis, Chromatography, Analytical and many others.
Contact Technical Service
